
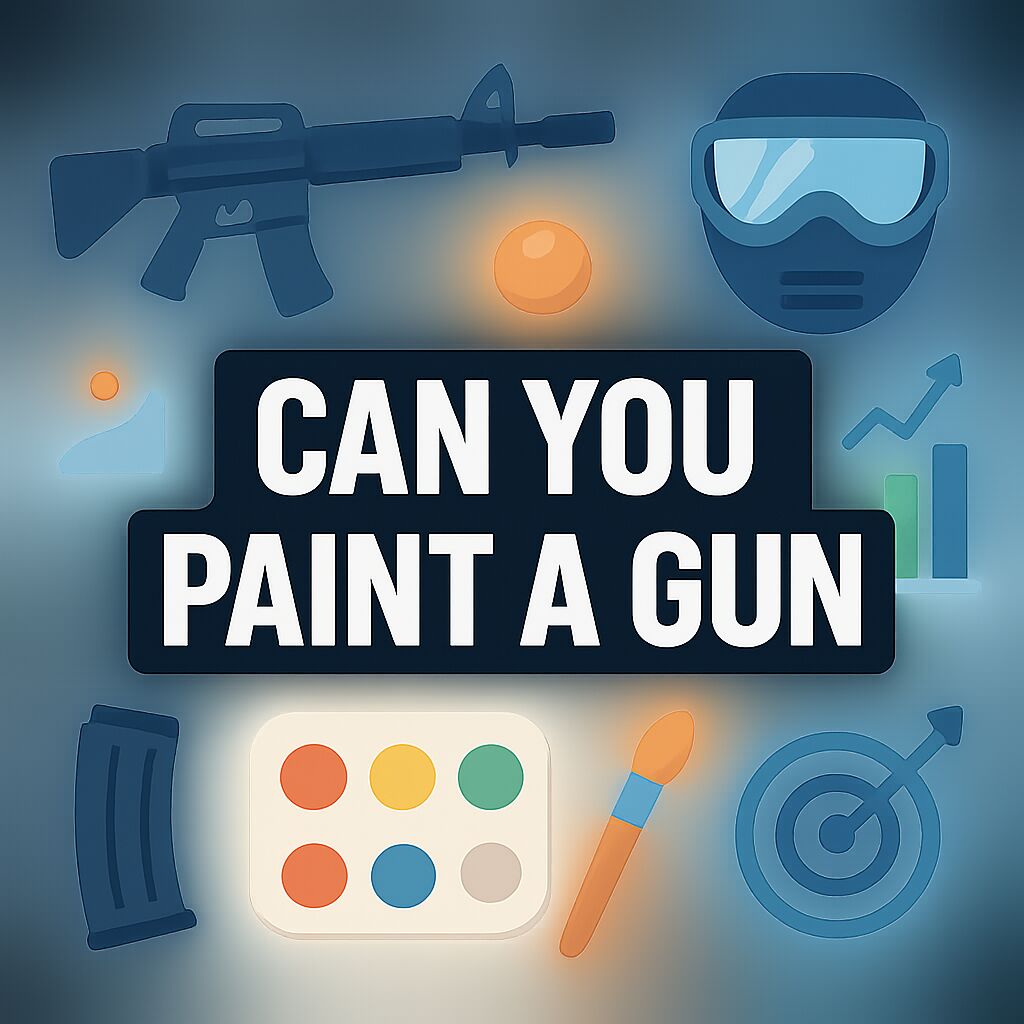
Can You Paint a Gun? (2026)
Can you paint a gun? Many airsoft players and gun owners ask that same question. The short answer is yes — but there are important safety and legal rules to follow.
This guide shows when and how to paint a gun safely. You will learn the difference between airsoft replicas and real firearms, the tools and prep you need, painting techniques, and when to call a pro.
Always unload and clear the gun before you start, and never cover or remove serial numbers and required markings. Laws and risks vary by location, and painting a gun to look like a toy can be dangerous and illegal, so check local rules or consult a gunsmith or lawyer.
Keep reading for step‑by‑step instructions, safety checklists, material lists, and troubleshooting tips so you can paint with confidence. Whether you want a removable finish for an airsoft gun or a durable Cerakote job for a firearm, this article will help you decide and do it right.
Table of Contents
- Can you paint a gun? — quick answer, safety, legality, and when to call a pro
- Materials & tools you’ll need
- Preparation: disassemble, degrease, sand and mask
- Painting process — primer, base coat, camo techniques, and drying
- Finishing, curing, reassembly, maintenance and troubleshooting
- What People Ask Most
- Final Thoughts on Painting a Gun
Can you paint a gun? — quick answer, safety, legality, and when to call a pro

Yes — you can paint most guns, including airsoft replicas and many real firearms, but the how and why matter. The simple question “can you paint a gun” opens a handful of safety, legal, and functional issues you must respect before you start.
Airsoft and replica guns tolerate different coatings and methods than real firearms. An airsoft gun often accepts spray paint or Plasti Dip without hurting function, while metal and polymer firearms need finishes that survive heat, wear, and tight tolerances.
Always unload and check the chamber before starting. Remove all ammo, magazines, and any gas sources, and work in a well-ventilated space with a stable bench and good lighting.
Check local laws; do not conceal or alter serial numbers. Some places limit how a firearm can look, and painting a real gun to appear like a toy or to hide markings can be illegal and dangerous. If you’re unsure, consult a gunsmith or attorney, and for step-by-step visual help consider a short video guide.
Painting can void warranties and affect moving parts if done poorly. When you need a long-lasting, high-wear finish — or work on gas systems and barrels — hire a professional who can apply Cerakote or Duracoat correctly.
Materials & tools you’ll need
Start with the right personal protective equipment. Use a respirator with organic-vapor cartridges, safety goggles, and nitrile gloves to protect skin and lungs during degreasing and spraying.
For cleaning and degreasing, pick strong but safe solvents. Isopropyl alcohol (90%+), Simple Green, or a dedicated gun degreaser will remove oils and factory coatings; use lint-free cloths and compressed air to clear crevices.
Have sanding and scuffing supplies ready to create mechanical bite. Use 220 to 320 grit paper to remove heavy finishes or rust, and 400–600 grit or Scotch-Brite pads to scuff for final adhesion on metal. For polymer, use light scuffing with Scotch-Brite rather than aggressive sanding.
Choose primers and adhesion promoters that match the substrate. Self-etching primers work well on steel, while plastic adhesion promoters like Krylon Fusion help polymers. Good Rust-Oleum and VHT primers are solid choices for DIY; Cerakote and Duracoat are premium options if you can get professional prep and cure.
Pick paints and topcoats that fit the job and environment. Matte spray paints from Krylon or Rust-Oleum are common for camo. For barrels or hot parts, VHT high-temp paint is better. Consider Plasti Dip for removable finishes and Duracoat or Cerakote for heavy-duty, long-lasting coatings.
Masking and layout tools keep things neat. Use 3M blue painter’s tape, plastic sheeting, paper stencils, mesh for patterns, leaves for organic camo, and cardboard or a simple spray booth to control overspray. A small screwdriver set, labeled containers, and soft brushes help during disassembly and parts handling.
Buying tips: for polymer frames start with Krylon Fusion or similar plastic adhesion products. For steel or aluminum, use a self-etching primer before Rust-Oleum or other topcoats. If longevity matters, budget for a professional Cerakote/Duracoat job — the materials and prep are different from spray cans and often require baking or expert application.
Preparation: disassemble, degrease, sand and mask
Organization and safety come first. Before disassembly photograph the parts layout so you can return pieces to the right places, and always remove magazines and clear the chamber again right at the bench.
Remove parts that should be painted separately. Take off optics, stocks, grips, magazines, and any accessories so you can get even coverage without risking damage to lenses or internal components.
Degrease every surface until it is spotless. Wipe the gun with isopropyl alcohol or Simple Green and use a toothbrush for crevices, then blow out residue with compressed air. Paint won’t stick to oil or fingerprints, so this step matters more than most people expect.
Scuff the surface to give the primer a mechanical bite. Use coarse grit (220–320) only to remove heavy finishes or rust, and finish with 400–600 grit or Scotch-Brite to prepare the surface. On polymer do light scuffing; aggressive sanding can weaken molded parts or create shiny spots.
Mask carefully what must not be painted. Block bores, muzzle crowns, gas ports, serial numbers, rail contact surfaces, and optics with tape or plastic bags. Use low-tack tape to avoid residue, and label small parts so reassembly is simple.
Stencils and trademark areas need attention. If you plan to add small logos, position stencils and test the layout on scrap first; for branding or shaped logos you can learn detailed tricks and trademark tips that work on many platforms.
Never paint internal mating surfaces or tight tolerances. Keep slide rails, trigger faces, and threaded muzzles free of heavy paint to avoid binding. If paint masks any functional seam, sand that small area after curing until it moves freely.
Painting process — primer, base coat, camo techniques, and drying
Primer is the foundation of a durable finish. Pick a primer made for your material and spray thin, even passes from 6–12 inches away to avoid runs. Two to three light coats with recommended flash times usually beat one heavy coat every time.
On metal use a self-etching primer for the best adhesion. For polymer use a plastic primer or adhesion promoter like Krylon Fusion. Let each primer coat flash as the product suggests before the next pass.
Choose a base color for the environment where the gun will live. OD green, tan, black, or gray make good bases depending on woodland, desert, or urban settings. Apply two to three thin coats, keeping the can moving in short bursts for even coverage.
Simple camo techniques are very effective for beginners. Drape a mesh or net over the gun and spray a contrasting tone to get broken, natural shapes. Press leaves onto the surface and mist over them for organic patterns that hide outlines well.
Work from base to mid-tones to dark accents for depth. Start with the base, add mid-tones in patches, then spray darker edges or streaks for shadow and contrast. Layering thin coats keeps edges soft and reduces runs.
Use stencils or sponge stippling for sharper shapes. Stencils give hard edges while sponges add texture. Practice the order on scrap so you learn how much paint each technique needs without overloading the surface.
Advanced touches take time but look pro. Airbrush highlights, dry brushing for wear, reverse stenciling for a crisp logo, and even light weathering with sandpaper produce a patina. Hydro-dipping and Plasti Dip provide different looks — Plasti Dip is removable and non-permanent.
Take special care with heat-exposed parts. Barrels, suppressors, and anything near the gas system can need high-temp coatings like VHT or a professional ceramic coat. When in doubt on a functional part, get help from a gunsmith or send it for Cerakote treatment.
Paint tight tolerances with restraint. Avoid heavy coats on slide rails, locking lugs, and gas ports. If you must coat contact areas lightly, plan to remove paint from mating surfaces after a full cure so the parts fit as intended.
Drying and curing make the finish durable. Light flashes between coats usually take 5–15 minutes depending on the product. Handle parts only when the paint is dry-to-the-touch, and expect full cure to take from 72 hours to a week for spray cans; Cerakote or baked finishes will follow specific temperature cure schedules.
Remove masking for crisp lines at the right time. Peel tape when the paint is dry but not fully cured to avoid lifting edges. Test your technique on scrap first so you know when to pull tape for the cleanest results.
Finishing, curing, reassembly, maintenance and troubleshooting
Topcoats protect and flatten sheen. Use a matte clear coat for low-glare finishes and apply several thin coats rather than one heavy one. For extra abrasion resistance, consider a two-component or specialty topcoat if you have the skills and gear.
Wait for the full recommended cure before reassembly. Many DIY paints feel dry quickly but still cure slowly underneath. Avoid forcing painted parts together until the manufacturer’s minimum cure time has passed to prevent sticking or peeling.
Check function carefully after reassembly. Make sure no paint blocks safety features, springs, or gas vents, and perform a dry cycle to verify slide and trigger movement. For live firearms, do initial test-firing at a safe range and watch for signs of binding or unusual wear.
Maintain painted surfaces gently. Clean painted guns with mild soap and water and a soft cloth, and avoid harsh solvents that can strip spray finishes. For chips, lightly sand the area, feather the edges, apply a thin touch-up coat, and seal with clear coat.
Common problems have simple fixes. Flaking or poor adhesion usually means inadequate degreasing or skipping primer — strip the finish, re-clean, scuff, prime, and repaint. Runs are best sanded smooth after a full cure and recoated with thinner, more frequent passes.
When the finish wears quickly, step up to higher-grade coatings. Cerakote and Duracoat provide far better abrasion resistance than canned spray paints, but they require professional-level prep, application, or heat cure. If longevity matters, budget for a pro or buy higher-end products and practice proper prep.
If you want the most durable results or have doubts about functional parts, seek professional help. A gunsmith or certified Cerakote tech will keep warranty and safety concerns in mind. For parts, supplies, and additional finish options, check supply options before you buy to make sure you pick the right products.
What People Ask Most
Can you paint a gun?
Yes, you can paint a gun, but you must take proper safety and legal precautions. Use the right prep and coatings and avoid painting moving or critical parts.
Is it legal to paint a gun?
Laws vary by state and country, so check local rules before painting. Do not alter or obscure serial numbers, as that can be illegal in many places.
What paint should I use if I want to paint a gun?
Choose paints or coatings made for metal and high heat, or use a professional firearm coating. Avoid household spray paints on internal or moving parts for safety and durability.
How do I prepare a gun before painting it?
Clean and degrease the surface, lightly sand glossy finishes, and mask off sights, the barrel, and controls. If possible, remove parts that shouldn’t be painted to avoid interference.
Will painting a gun affect its function or safety?
Proper painting usually won’t harm function, but paint on triggers, safeties, or inside the action can cause problems. If you’re unsure, have a gunsmith inspect the work before use.
Can painting a gun hide its serial number?
Painting over a serial number can obscure it, which may be illegal in many areas. Always keep serial numbers visible and never intentionally deface them.
Should I hire a professional to paint my gun?
If you want a durable, reliable finish or lack experience, a professional is a good choice. Professionals have the right prep, coatings, and tools to avoid common mistakes.
Final Thoughts on Painting a Gun
Yes, you can paint most guns, and with good prep you’ll get a lasting, personalized finish that also protects surfaces. For scuffing, aim for mid grits (220 to 320), and a 270 grit is a common middle ground for gentle abrasion. Use the right primer and a respirator so the coating sticks and you stay safe.
That said, painting can affect warranties, moving parts, and legal markings, so don’t coat areas that matter and check local laws before you start. This guide separated replicas from real firearms, gave a clear safety checklist, listed materials and prep steps, and explained when to hand the job to a pro. Hobbyists, airsoft players, and careful gun owners who follow the steps will see the best results.
If you enjoy hands-on gear work, you’ll love the control and the chance to make a piece that fits your use and environment, but if you’re unsure get an expert’s help for critical parts. We opened asking “Can you paint a gun?” and answered it with practical safety, legal, and step-by-step advice so you’re ready to plan a safe, well-prepared project.