
What Is the Difference Between Mrad and Moa? (2026)
What is the difference between mrad and moa — and which one should you use? This guide answers “what is the difference between mrad and moa” in simple terms so you can decide fast.
First, you get a quick answer and clear definitions. Then we show how each unit converts, real shooting examples, and easy math tricks.
We compare subtensions, turret clicks, and who normally uses each system. You will see pros and cons, a conversion cheat sheet, and a practical pick for hunters, long‑range shooters, and airsoft players.
Read on for step‑by‑step tips, simple range examples, and a printable cheat sheet to keep on the range. By the end you’ll know which system fits your gear and shooting style.
What is MOA?
MOA (minute of angle) = 1/60 of a degree — an angular unit used to describe scope adjustments and reticle subtensions.
Quick answer: if you search “what is the difference between mrad and moa” the short version is MOA links to degrees and tends to be used with inches and yards, while MRAD links to radians and works cleanly with meters and centimeters.
Exactly, 1 MOA can be written in radians as 1 MOA = π / 10,800 radians ≈ 0.000290888 rad, which gives you a precise value when you need it for math or software.
Practically shooters use both a precise value and a quick rule. At 100 yards one MOA subtends 1.047 inches, and most people round that down to 1″ per MOA for fast mental math.
At 100 meters one MOA ≈ 2.9089 cm (≈ 1.1455 inches), so the metric translation is less tidy than the metric-friendly mil. Keep both the exact and the shooter’s shortcut in mind when planning shots.
Turret and reticle examples help you feel this difference. Common turret clicks are 1/4 MOA, 1/2 MOA, and 1 MOA; a single 1/4 MOA click moves point of impact by about 0.262″ at 100 yards, while reticles often use 1 MOA dots or 0.5 MOA hash lines for holds.
Range estimation with MOA uses a simple formula: Range (yards) = (target size in inches × 95.5) / MOA, which gives a fast field number. For example, if a 6″ target measures 2 MOA in your scope then Range = (6 × 95.5) / 2 = 286.5 yards, so you know roughly where it sits.
Visuals that help: picture a diagram showing 1 MOA at 100 yards as a one-inch tick, plus the same angle at 100 meters as a ~2.9 cm tick, and show an MOA-style reticle with 1 MOA dots and 0.5 MOA lines for close-up reference. For scope setup details and turret matching see scope sighting differences.
What’s a Milliradian (MRAD)?
MRAD (milliradian, commonly “mil”) = 1/1,000 of a radian; an SI-friendly angular unit used on many modern scopes and reticles.
In exact terms 1 mrad = 0.001 rad ≈ 0.0572958°, which is clean and easy to use in equations because it’s based on radians rather than degrees.
Metric math is simple with mils: at 100 meters one mrad subtends exactly 0.1 meters, so 1 mil = 10 cm at 100 m. Converted to imperial, 1 mrad ≈ 3.6″ at 100 yards, so many shooters use the quick rule mils × 3.6 to get inches at 100 yards.
Small mils are useful in fine work: 0.1 mrad equals 1 cm at 100 m and about 0.36″ at 100 yards, so typical turret increments are 0.1 mrad (often called 1/10 mil) or 0.05 mrad on precision scopes, and reticle hashes commonly show 0.2 or 0.1 mil spacing for holds and wind calls.
Range estimation with mils is extremely direct: Range (m) = (target size in meters × 1000) / mils. For example, a 1.8 m tall target that measures 2.0 mils in your scope is at (1.8 × 1000) / 2 = 900 meters, which is quick to calculate in the field with meters and centimeters.
The mil system’s metric clarity explains why militaries and many long-range shooters prefer MRAD. For visual comparison of reticle styles and how mil hashes work in real scopes see this reticle comparison.
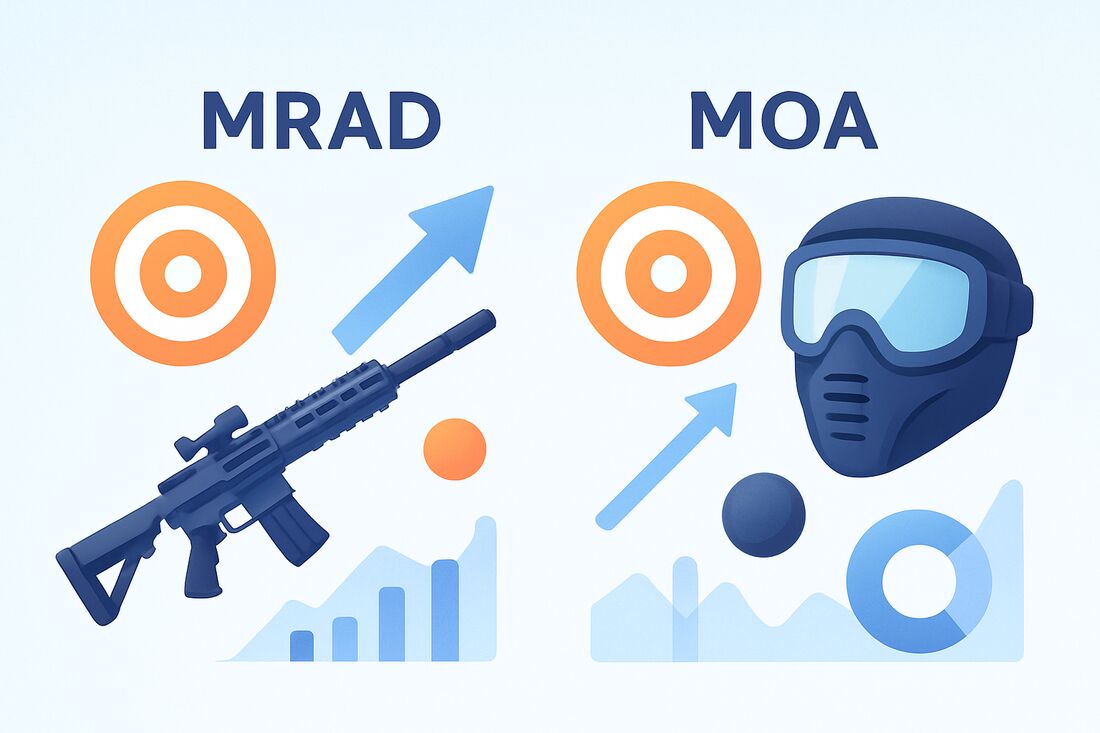
MRAD vs MOA — What’s the Difference?
The difference is their angular definitions (MOA = 1/60° vs MRAD = 1/1000 rad); that leads to different subtensions, conversion factors and practical workflows (imperial vs metric math, turret granularity, reticle matching).
Origin and feeling: MOA comes from the sexagesimal system (degrees) and has been the conventional choice for many American hunters and target shooters, while MRAD comes from radian geometry and fits the metric system and modern ballistic calculators.
Subtension comparison at common distances highlights the practical gap: 1 MOA ≈ 1.047″ at 100 yards (≈ 2.91 cm at 100 m), whereas 1 mrad = 10 cm at 100 m (≈ 3.6″ at 100 yd). That means the same numerical hold will represent different linear shifts depending on which unit you use.
Granularity and clicks matter when dialing: typical factory MOA turrets with 1/4 MOA clicks give ~0.262″ movement at 100 yd per click, while a 0.1 mrad turret gives roughly 0.36″ per click at 100 yd. In practice MOA turrets often offer slightly finer standard clicks, but mil systems can use finer 0.05 mrad increments if desired.
Ease of math is a big user choice: MRAD makes metric range and hold math fast (cm and meters), while MOA ties neatly to inches and yards. Match your math to what you measure and the outputs your ballistic apps provide to avoid mental conversion errors.
Typical users split roughly like this: MRAD attracts military, long-range, and metric shooters; MOA stays popular with precision hunters, many competition shooters in the U.S., and anyone comfortable with inches and yards. Both can work well — the key is consistency between reticle, turret, and DOPE.
Pros/cons at a glance: MRAD pros are straightforward metric math and a simple mil-based range formula; cons include slightly coarser default clicks at 0.1 mil unless you choose finer turrets. MOA pros include widely available 1/4 MOA turret increments and familiar imperial math; cons include awkward metric conversion and slightly less tidy metric range equations.
When it matters: for most airsoft or plinking under 100 m the difference is negligible and consistency is king. At true long range the choice influences how you compute wind, aim points, and count clicks, and small rounding errors can grow into multi-inch misses at 800–1,000 yards.
For a short, practical comparison and examples beyond this article, check a hands-on write-up like the Field & Stream mrad vs moa comparison, which walks through real scope setups and dial feel.
MRAD ↔ MOA Conversion — Quick Math & Cheat Sheet
Exact conversion rules are simple to memorize: 1 mrad = 3.43774677 MOA (approx 3.438 MOA), and 1 MOA = 0.29088821 mrad (approx 0.291 mrad), which lets you switch cleanly between systems.
For quick shooter math: to get inches at 100 yards from mils multiply mils × 3.6 (approx), and to get inches at 100 yards from MOA multiply MOA × 1.047 (or use MOA × 1″ for rough work). Remember that 0.1 mrad = 1 cm at 100 m and 1/4 MOA ≈ 0.262″ at 100 yd for turret click math.
Worked example 1 — convert 2.5 mrad to MOA: multiply 2.5 × 3.43774677 = 8.594366925 MOA, so you can call it ~8.59 MOA or simply ~8.6 MOA when planning a dial.
Worked example 2 — convert 6 MOA to mrad: multiply 6 × 0.29088821 = 1.74532926 mrad, so 6 MOA ≈ 1.745 mrad and you’d dial about 17 or 18 clicks on a 0.1 mrad turret (see next example).
Worked example 3 — turret clicks: if your turret clicks are 0.1 mrad and you need to add 1 MOA, convert 1 MOA → 0.29088821 mrad then divide by 0.1. That gives 2.9089 clicks, so on a 0.1 mrad turret you’d dial 3 clicks and fine-tune with hold, or use 0.05 mrad clicks for tighter accuracy.
CONVERSION CHEAT-SHEET:
1 MOA ≈ 1.047″ @100 yd ≈ 2.909 cm @100 m ≈ 0.291 mrad
1 mrad ≈ 3.4377 MOA ≈ 3.937″ @100 m ≈ 3.6″ @100 yd
1/4 MOA ≈ 0.262″ @100 yd; 0.1 mrad = 1 cm @100 m ≈ 0.36″ @100 yd
Tip: keep a one‑page printable cheat sheet in your pack or phone so you can avoid mental conversion under stress. Embedding a small conversion calculator in your phone’s quick links or adding a downloadable cheat image to your range bag speeds decision-making.
Choosing Between MRAD and MOA — Practical Advice & Shooting Tips
Start with a decision checklist: do you measure distances in meters or yards? If meters, MRAD tends to simplify range math; if yards and inches, MOA may feel more natural and let you use finer standard clicks like 1/4 MOA.
Does your ballistic app or solver output in mils or MOA? Match your scope to the app to avoid conversion errors. If your reticle and turret use different units, write conversions clearly on your DOPE card before you leave the truck.
How to confirm your scope’s unit and turret value in the field: check the turret top markings and manual, then do a simple two-shot test at 100 yards and measure the vertical shift after a known number of clicks to confirm inches per click. Record that number in your log and mark the scope if it differs from the factory spec.
How to zero and record DOPE: zero at your preferred distance, then record hold or dial values at 100/200/300/500 yards (or meters) in the unit you prefer. Example DOPE lines: “100 yd: 0 MOA / 0.0 mrad; 200 yd: +2.3 MOA / +0.67 mrad; 300 yd: +6.7 MOA / +1.94 mrad; 500 yd: +19.2 MOA / +5.57 mrad” — use your ballistics solver for exact numbers for your load and barrel length.
Practice drills to switch units quickly: on the range, identify a known-size target, measure its subtension in your reticle, convert to range in both systems, and then check your estimates by moving to the target. Repeat these drills until metric and imperial conversions feel automatic.
Common pitfalls and how to avoid them: don’t mix reticle and turret units without conversion — that’s how you end up dialing the wrong amount. Avoid relying on rough approximations in precision situations; a small rounding mistake grows with distance and can cost inches or even feet at extreme ranges.
Airsoft-specific notes: for most airsoft fields and engagement distances under roughly 80–100 m either system will work. Focus on consistent zero, a simple reticle (mildot or 1/4 MOA hash), and recording your DOPE in the same unit your team or field uses so you can share calls easily.
Suggested resources: build a one‑page cheat sheet with conversions and your personal DOPE, keep a small printed DOPE table in your case, and link your ballistic app to the units you use for the day. A short printable template and a simple range table will save time at the field.
Quick picks: Hunters — MOA if you hunt in yards so clicks and holdovers match your range cards; otherwise MRAD if your kit and apps are metric. Competition shooters — pick what your competition and spotting partners use for the fastest calls and fewest conversions. Military/LR shooters — MRAD for clean metric math, easy mil-based rangefinding, and standardization. Airsoft players — pick the system your team uses or the one that matches your field’s measurement style; consistency beats unit choice at typical engagement ranges.
What People Ask Most
What is the difference between mrad and moa?
They are two ways to measure angles for adjusting rifle scopes. Mrad uses milliradians and MOA uses minutes of angle, but both let you move your point of aim. The practical difference is how the numbers and clicks are read when making adjustments.
Which system is easier for beginners to learn?
Either system can be easy if you stick with one and practice. Many beginners find MOA intuitive in yards, while others prefer mrad if they use metric units. The key is consistent use and simple drills.
How do I choose between mrad and moa for hunting?
Pick the system that matches your local distance units and the reticle or app you use. If you hunt in yards and use traditional charts, MOA can feel natural. If you use metric or want simpler math for range estimation, mrad might be better.
Can I convert between mrad and moa easily?
Yes, you can convert between them with a calculator, app, or chart. Many shooters keep a small conversion cheat sheet in the range bag. Practicing conversion beforehand makes adjustments faster in the field.
Do mrad and moa affect my shooting accuracy?
No, the units themselves do not change the rifle’s accuracy. They only change how you make corrections on the scope. Accuracy depends on ammo, rifle, shooter skill, and setup.
Are there common mistakes beginners make with mrad and moa?
Beginners often mix units, misread reticles, or forget to match their ballistic data to the scope. Another common error is not practicing scope adjustments before a real shot. Simple practice and checking settings fix most mistakes.
Which system is better for long-range target shooting?
Both systems work for long-range shooting and many top shooters use each one. Some prefer mrad for its smaller graduations and metric math, while others like MOA for its familiarity in yards. Choose the system that matches your tools and training.
Final Thoughts on Choosing MRAD or MOA
If you’ve ever stared at a turret and wondered whether to tally clicks or do quick metric math — or counted out 270 clicks to change zero — the core benefit here is clear: matching your scope, reticle and mental math saves time and keeps your shots where you want them. We showed both exact values and shooter-friendly approximations so you can pick precision or speed without guesswork. That consistency is what turns confusing numbers into reliable aim.
One realistic caution: mixing units or relying only on rough estimates can sneak in measurable error at long ranges, so double-check your turret markings and DOPE when precision matters. For most hunters and backyard shooters, MOA’s inch/yard feel works fine; for metric fields, military/long-range shooters and anyone using metric ballistics, MRAD will simplify calculations. Airsoft players will mainly win by keeping things consistent, not by the unit itself.
We opened by asking which system fits you best and answered by laying out definitions, conversions, pros and cons, and quick pick guidance so you can match tools to tasks. Try what feels natural on the range and trust that consistent setup will pay off in steady, repeatable hits.