
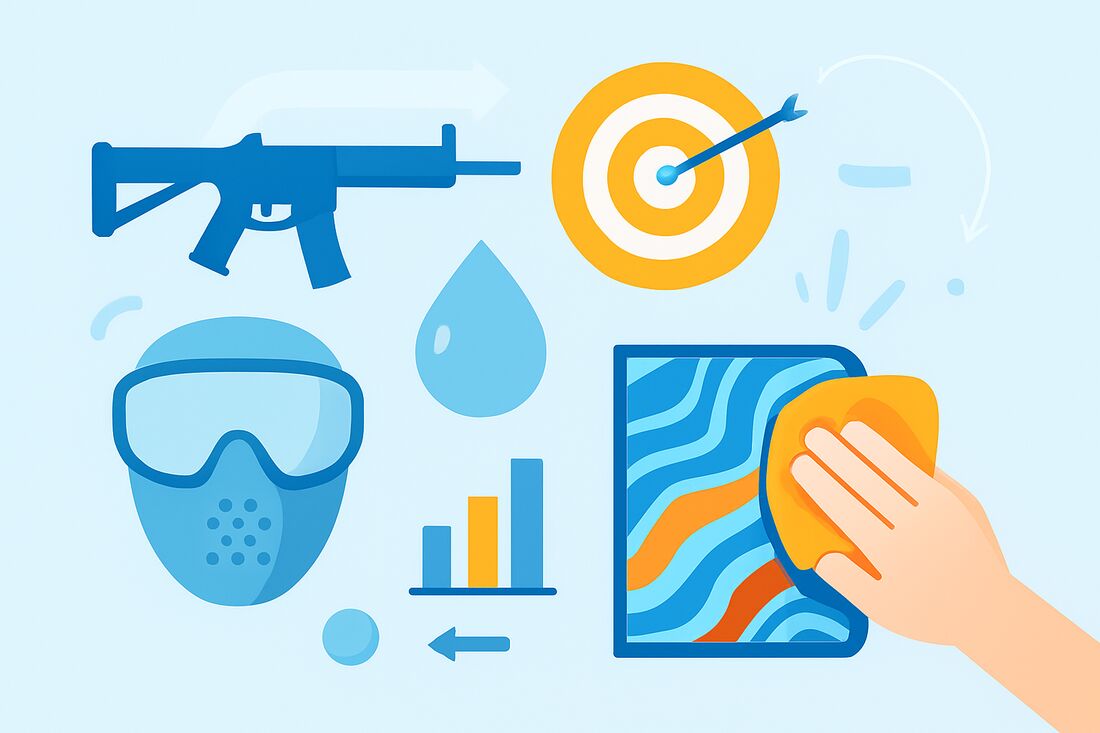
How to Remove Hydro Dip? (2026)

How to remove hydro dip without ruining your part? This guide gives clear, simple steps so you can strip prints safely and get ready to refinish.
Quick answer up front: use chemical solvents (acetone, lacquer thinner, or paint stripper), mechanical methods (sanding or polishing), heat/boiling for thin films, or abrasive blasting for tough jobs. Which method you pick depends on the material, clearcoat, age of the dip, and whether you want to fully strip or just scuff for a re-dip.
You will get a short tools and materials checklist, plus step-by-step branches for chemical, mechanical, and heat removal. Safety and proper disposal tips are covered so you avoid fumes, damage, and waste mistakes.
The article also covers material-specific advice for metal, plastic, wood, glass, and tumblers, plus troubleshooting and quick cheat-sheets. Follow these steps to pick the right method, protect your parts, and finish cleanly or prepare for a new dip.
Table of Contents
- How to Remove Hydro Dip (Overview)
- Tools and Materials Needed
- Methods to Remove Hydro Dip Prints (what to choose and why)
- Step-by-Step Removal Process (general workflow + branch steps)
- Removal Techniques for Different Materials (material-specific tips & pitfalls)
- What People Ask Most
- Final Thoughts on Removing Hydro Dip
How to Remove Hydro Dip (Overview)
Quick answer: if you want to know how to remove hydro dip, the most reliable options are chemical solvents (acetone, lacquer thinner, or paint stripper), mechanical removal like sanding or polishing, heat/boiling‑water for film release, and abrasive blasting for very durable parts.
Which approach you pick depends on the substrate (metal, plastic, wood, glass or ceramic), whether there is a clearcoat, how old or thick the dip is, and whether you need a complete strip or just a scuff for a new dip.
Cheat‑sheet: metal → stripper or blasting; plastic → gentler solvent or scuffing; wood → wood stripper and sanding; glass/ceramic → hot water or razor carefully. Always test an inconspicuous spot first and prioritize safety and proper waste disposal, and if you want a quick reference see this removal guide.
Tools and Materials Needed
Start with personal protective equipment: an organic‑vapour respirator, nitrile gloves, eye protection, long sleeves and good ventilation or an outdoor workspace. Keep drop cloths and bright lighting so you can see ghosting and edges clearly.
Chemicals to consider include acetone (fast, aggressive), lacquer thinner (broad‑spectrum), denatured alcohol (gentler on plastics), mineral spirits (milder), and commercial paint strippers (follow label and avoid methylene chloride products). Each has pros and cons: acetone acts fast but can melt plastics, strippers take longer but lift thick clearcoats, and mineral spirits are safer for delicate substrates.
Mechanical tools are useful: plastic and metal scrapers (use metal cautiously), Scotch‑Brite pads, sandpaper from 240 through 1000+ grit, an orbital sander, and a rotary tool with pads. For heavy jobs a sandblaster or bead blast is ideal on metal, while a heat gun or pot and thermometer serve the boiling method for tumblers and glass.
Cleanup supplies are essential: shop rags, a sealable waste container marked for solvents, isopropyl alcohol or degreaser, and masking tape to protect hardware. Quick tips: label and contain used solvent waste, never mix chemicals, and choose gentler options for plastics to avoid melting or crazing.
Methods to Remove Hydro Dip Prints (what to choose and why)
Chemical solvents work by softening the clearcoat and inks so the film peels or scrubs off. For how to remove hydro dip chemically, apply the solvent or stripper, allow a dwell time, agitate with a Scotch‑Brite pad or plastic scraper, then wipe clean.
Paint strippers penetrate and lift heavy clearcoats and multiple layers but need longer dwell times and neutralization. Lacquer thinner is a strong thinner that often removes clearcoat and some pigments; acetone works very fast on many films but can melt certain plastics, while mineral spirits are safest for soft substrates but may not attack stubborn clearcoats.
Mechanical polishing and sanding remove the coating by abrasion and are good when the substrate is robust. Start coarse to remove the bulk then work up grits to smooth and finish; polishing can remove ghosting but will remove substrate material if overdone.
The heat or boiling‑water method is perfect for tumblers, glasses, and items where the film lifts with thermal expansion. Submerge or heat to release the film, then peel with a plastic scraper and scrub the residue away; avoid thermal shock on thin glass.
Abrasive blasting is the go‑to for heavily bonded dips on metal and industrial parts and can remove everything down to bare metal. Pick media and pressure carefully and avoid blasting thin‑walled or fragile parts that will deform or crack.
Home remedies like WD‑40, citrus cleaners, or brake cleaner can loosen adhesives and help with small spots but rarely remove deep pigment stains fully and may create oily residue. For more detailed technical info on removing hydrographics film consult hydrographics film resources before attempting aggressive methods.
Step-by-Step Removal Process (general workflow + branch steps)
Prep and assessment first: remove hardware and small parts, mask or bag threads and bearing surfaces, and identify the substrate and original finish. Always test a small hidden area to confirm your chosen method won’t ruin the base material.
Chemical branch: 1) Apply the chosen solvent or paint stripper per the label and cover with plastic wrap if the product recommends it to extend dwell time. 2) Wait the manufacturer‑recommended time, then agitate with a Scotch‑Brite pad or plastic scraper. 3) Wipe residue, repeat until the film softens or lifts, then neutralize with isopropyl alcohol and allow to dry.
Mechanical branch: begin with a Scotch‑Brite pad or 240–320 grit sandpaper to remove top layers while keeping even pressure to avoid gouging. Progress to 400–600 grit to smooth and finish with 1000+ grit or polishing pads to remove ghosting and restore shine if needed.
Heat/boiling branch: heat gently or submerge tumblers in hot water to loosen the film, then peel with a plastic scraper and scrub with a soft brush. Clean and degrease the part afterward to remove any residual film or oils.
After removal inspect for ghosting or stains, sand or spot‑strip remaining pigment to bare substrate if required, degrease thoroughly, and prime before repainting or re‑dipping. Safety reminders: ventilate the area, keep solvents away from open flames, and dispose of solvent waste at a hazardous‑waste facility.
Removal Techniques for Different Materials (material-specific tips & pitfalls)
Metal responds well to chemical strippers, sanding, or bead blasting, but beware of flash rust; dry quickly and apply a rust inhibitor or primer. What to avoid: long solvent exposure on aluminum that can pit the surface, and overheating during mechanical work which can warp parts.
Plastic and polymer parts need the gentlest approach—test first and avoid acetone on ABS, PVC, or polycarbonate because it can craze or melt the surface. Use denatured alcohol, mineral spirits, light Scotch‑Brite scuffing, and low heat only; when in doubt get a pro if the part is critical.
Wood takes wood‑compatible strippers and sanding; work with the grain and expect some pigment penetration into pores that may require additional sanding or fresh staining. What to avoid: heavy solvents that lift resin or damage veneers—if damage occurs stop and consult a restoration specialist.
Glass and ceramic often release film with hot‑water soaks and plastic scrapers; on glass a razor blade at a low angle can lift film but be careful to avoid scratches and thermal shock. Specialty items like drinkware and Cerakote finishes deserve special care—use a boiling‑water method for tumblers, sanitize afterward, and consult a pro for high‑end coatings to avoid irreversible damage and see common mistakes before you start via common mistakes.
What People Ask Most
How to remove hydro dip from plastic at home?
Start by cleaning the area with warm soapy water and test a small spot with isopropyl alcohol. If that doesn’t work, gently sand or use a mild paint remover while protecting yourself and working slowly.
How to remove hydro dip from metal surfaces?
Wipe the surface with a solvent like isopropyl alcohol and try light sanding to lift the film. For stubborn areas, use a paint stripper made for metal and wipe clean before refinishing.
Can I learn how to remove hydro dip without special tools?
Yes, many small jobs can be done with common items like rubbing alcohol, sandpaper, and gloves. For larger or delicate pieces, consider borrowing or renting a heat gun or proper remover to avoid mistakes.
How long does it usually take to remove hydro dip?
Time varies by size and method — small spots can take minutes while full parts may take an hour or more. Allow extra time for testing methods and for the surface to dry between steps.
Is it safe to remove hydro dip indoors?
It can be safe if you work in a well-ventilated area and wear gloves and a mask. Always follow product safety instructions to avoid fumes and skin contact.
What common mistakes should beginners avoid when removing hydro dip?
Don’t skip a test spot, avoid aggressive scraping, and don’t rush with coarse sanding that can damage the surface. Use the gentlest effective method and protect your hands and lungs.
Will removing hydro dip ruin the original paint or finish?
It can if you use harsh chemicals or heavy sanding, so start gently and test first. If the original finish is thin, be prepared to repair or repaint after removal.
Final Thoughts on Removing Hydro Dip
Whether you’re cleaning a single tumbler or a batch of 270, the same method map will get you back to a bare, refinish-ready surface without guesswork. We walked through solvents, sanding, heat and blasting so you can pick the gentlest effective route and preserve the underlying material. Just remember that harsh chemicals or aggressive abrasion can hurt plastics or thin metal, so test first and proceed cautiously — this is most useful for DIYers, hobbyists and shop techs who want clean, repeatable results.
You asked whether hydro dip can be removed and which method to use; we answered with a clear quick-method map and step-by-step workflows tailored to different substrates. We also covered tools, PPE, dwell times and troubleshooting so you won’t be left guessing when ghosting or stains show up.
With patience, proper PPE and the right method for your material, you’ll be able to remove old dips and move on to a clean refinish or a fresh design. Take it step by step and you’ll see the difference on your next project.