
How to Remove O Ring? (2026)
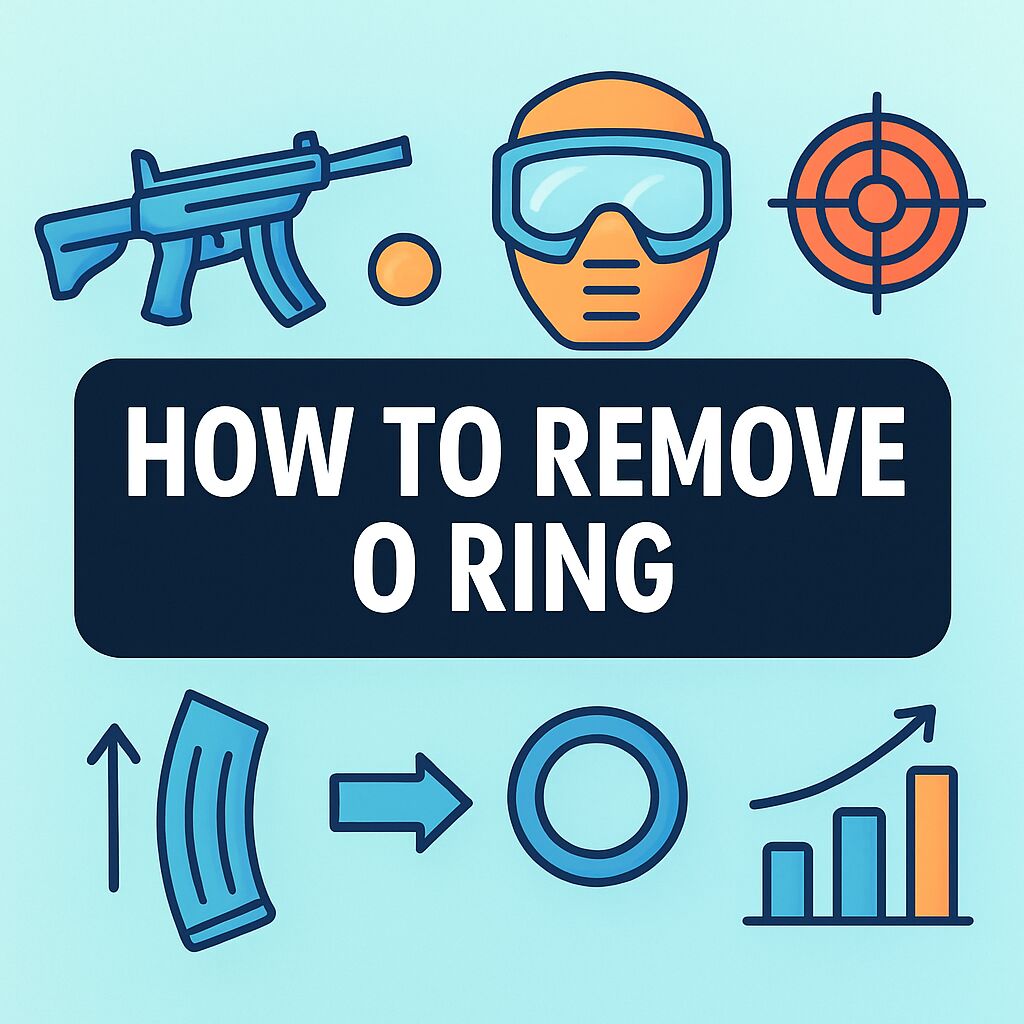
How to remove o ring without nicking the seal or causing a leak? This short guide gives clear steps for airsoft magazines and valves.
First you will learn safety basics — disconnect, depressurize and prepare your workspace. Then we cover the right tools and replacement O‑rings so you are ready.
The step‑by‑step section shows how to remove O‑rings, clean seats, and fit new rings. It also gives tips for stuck, frozen, or CO2‑rated O‑rings and which materials to use.
Finally you get testing and troubleshooting advice to confirm a leak‑free reassembly. Expect simple photos, a tools list, and an easy time estimate to finish the job right.
Table of Contents
Safety first — disconnect, depressurize and prepare your workspace

Safety matters because gas magazines and valve parts can be under high pressure, springs can fly out, and cold gas can freeze O-rings. A damaged O-ring can create a fast leak or an unexpected discharge that injures you or damages gear.
Before you touch anything, remove the magazine and make sure the gun is unloaded. Take out CO2 cartridges and disconnect any external gas source before you begin work.
Depressurize safely by venting slowly and away from your face. Warm the magazine a little before venting in cold weather to avoid O-ring freezing, and never blast a release valve when it is freezing outside.
Wear eye protection and thin nitrile gloves, and work under strong lighting. Use a clean, flat surface with parts trays or zip bags to keep screws and springs organized and keep pets and children away.
Quick safety callouts: always keep the muzzle pointed safely, handle springs and valves with respect, and never reuse visibly damaged O-rings. For a simple primer on seals and materials see O-ring basics.
Gather the right tools and replacement O‑rings
Have the right tools ready before you open a magazine. Non-metallic O-ring picks, fine tweezers, small needle-nose pliers and a valve tool set are essentials for safe removal.
Bring small screwdrivers, hex drivers and a parts tray to hold screws and springs while you work. Use calipers or a small ruler if you need to verify O-ring size before ordering replacements.
For cleaning and assembly have silicone O-ring lubricant, isopropyl alcohol, lint-free cloths and leak-detection soap on hand. A small penetrating silicone spray can help free stubborn rings, but use it sparingly to avoid residue.
Stock an O-ring assortment kit with common sizes and materials like NBR for general use and Viton for CO2 work. Optional helpers include a hairdryer for gentle heat, a magnifier and a small vice or bench block for stubborn parts.
Build a compact field kit with an O-ring assortment, a small tube of silicone oil, non-metal picks, tweezers, a valve tool, micro screwdrivers and tiny zip bags. Keep it labeled and ready so you can do quick repairs between games.
how to remove o ring
This section shows exactly how to remove o ring from a magazine or valve safely. Start by confirming full depressurization, good lighting and a tidy parts tray.
1. Confirm the magazine is depressurized and the gun is unloaded. 2. Remove the base plate or end cap and control spring tension using a flat hand or bench block.
3. Remove the magazine spring and follower and note their orientation for reassembly. 4. Unscrew the fill valve assembly using the correct valve tool, working slowly to avoid cross-threading and marring threads.
5. Pry the external O-ring from the fill valve with a plastic pick, rolling it off rather than cutting it. 6. Use the small end of the valve tool to extract the fill valve and the medium end for inner valve or hammer pieces, applying steady even pressure.
7. Push out the internal valve core with a plastic punch or pick, keeping parts in the order they come out. 8. Gently lever the top O-ring out of its groove with a non-metal pick. 9. Remove remaining O-rings and do not cut unless it is an absolute last resort—replace any you cut immediately.
If an O-ring is stuck or hardened, warm the part briefly and apply a small amount of silicone spray, then let it soak and try again. Photograph each stage and check a maintenance guide such as airsoft maintenance tips to verify your steps.
Do not gouge or nick valve seats or grooves with metal tools, and avoid reusing flattened or glazed O-rings. Common mistakes include cross-threading the fill valve and venting too fast in cold weather, which can freeze seals and make removal harder.
Replace O‑rings and reassemble correctly
Inspect all seating surfaces and bores for nicks, corrosion or debris and clean them with isopropyl alcohol and a lint-free cloth. Discard any O-rings that are cut, flattened, glazed or feel hard instead of flexible.
Match the replacement O-ring by size, cross-section and material; NBR is fine for general gas, and Viton is better for repeated CO2 exposure. Use calipers to confirm size if you are unsure and refer to manufacturer part numbers when possible.
Lightly lubricate new O-rings with silicone oil and work the lube into the ring; too much lubricant will attract dirt and cause issues. Seat the external O-ring by pressing it into place by hand or using a soft tool, and an optional gentle burst of warm green gas can help the ring settle.
Reinstall valve cores and inner valves in the correct order and orientation, then thread the fill valve by hand to avoid cross-threading before using the valve tool to finish. Refit the spring, follower and base plate, ensuring the spring tension is captured correctly before tightening screws.
Do a final visual check for debris and ensure all screws are snug without over-tightening. Perform a partial pressurize test before you fully pressurize the magazine.
Test, troubleshoot and preventive maintenance
Test for leaks with a partial gas fill and watch for bubbles in soapy water or use a leak detector spray to pinpoint small leaks. For step-by-step checks see basic maintenance steps.
Run several fills and discharges to help new O-rings seat and to spread lubricant evenly across sealing surfaces. This break-in will often eliminate faint leaks that show up on the first pressurize.
If a leak persists re-check O-ring size and seating, inspect for nicks or cross-threading and confirm the valve body itself is not damaged. Frozen O-rings after a quick vent are best warmed gently before re-testing to avoid false negatives.
Do a quick inspection and light lubrication every few games and consider keeping a small amount of gas in magazines during storage if your setup benefits from it. Replace O-rings on a schedule if you play often or if you use harsher gases that shorten seal life.
A small smear of silicone grease can temporarily stop a slow leak in the field, but plan to replace the O-ring as soon as you can. Seek professional help or replace the valve body if the seat is nicked, corroded or otherwise compromised.
Expect 20 to 45 minutes for a full magazine service if you have the right tools and some experience, and mark this as intermediate difficulty. Knowing how to remove o ring properly will save time, prevent leaks, and keep your kit reliable when you need it most.
What People Ask Most
How to remove O-ring?
Clean the area and apply a little silicone grease or soapy water to ease removal. Use a plastic pick or other blunt plastic tool to pry it out slowly to avoid cuts or scratches.
What tools do I need to remove an O-ring?
Use a plastic or nylon pick, a soft flat plastic tool, and small tweezers for control. These tools reduce the chance of damaging the ring or the groove.
Can I remove an O-ring without replacing it?
You can reuse an O-ring if it looks clean, flexible, and free of cuts or flattening. If it shows wear, hardening, or deformation, replace it to prevent leaks.
Is it safe to use a screwdriver or knife to remove an O-ring?
No, sharp metal tools can nick the seal or scratch the groove and cause leaks. If you must use metal, wrap the tip in tape and work very gently.
Will heat or cold help when I remove a stuck O-ring?
Warm water or a short soak can soften the rubber and make removal easier. Avoid high heat or freezing, which can damage the O-ring or nearby parts.
How do I remove an O-ring from plumbing or a pressurized system?
Always turn off the water and relieve pressure before attempting removal to avoid injury or spills. Then use a plastic pick to lift the O-ring from its groove carefully.
What common mistakes should I avoid when removing an O-ring?
Avoid prying with sharp tools, pulling too hard, and reusing a visibly damaged ring. Always clean the groove and inspect both the ring and the sealing surface before reinstalling.
Final Thoughts on Magazine O‑ring Replacement
If you picked up an O‑ring kit labeled 270, you’re already halfway there. Swapping worn seals gives you steadier pressure, cleaner shots and far fewer surprises mid‑game, and it costs less than replacing whole mags. This approach really suits airsoft players, field techs, and hobbyists who like to stay hands‑on.
Don’t forget a realistic caution: take your time, keep parts and tools organized, and avoid over‑tightening or metal picks that can nick valve seats. We walked through safety prep, the right tools, a numbered removal method, careful reassembly, and simple leak tests so you can follow each step without guessing. That opening question about fixing a leaky mag yourself gets a clear, practical answer here.
With a bit of patience and the routine checks suggested, you’ll have reliable mags that behave on the field. Keep practicing and your repairs will get quicker and cleaner with every maintenance session.